
Are you ready to add a splash of color and creativity to your nails? Say hello to the mesmerizing world of ombre nails! Ombre is a trendy nail art technique that blends different hues seamlessly. The best part? You can achieve this fabulous manicure right at home, even if you are a beginner. So, grab your favorite nail polishes, follow these simple steps, and let’s get started on your journey to stunning ombre nails!

Before you dive into the colorful adventure, ensure you have all the necessary tools. You will need at least two nail polish colors, a makeup sponge, a nail polish remover, cotton swabs, a base coat, a top coat, and a piece of aluminum foil for easy cleanup.

Start with a clean slate by removing any existing nail polish and shaping your nails. Trim, file, and buff your nails to your desired shape, and push back your cuticles. This step ensures a smooth and even surface for the ombre magic to unfold.
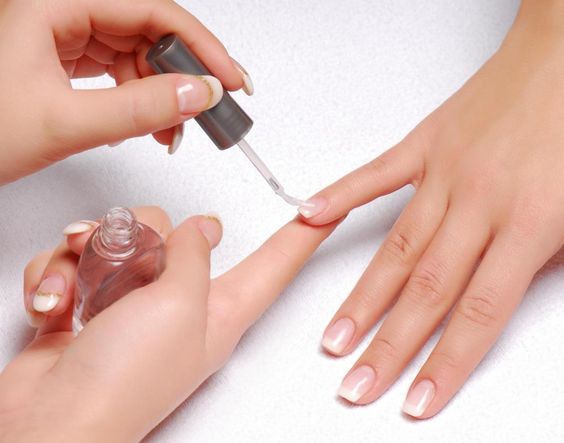
Protect your nails from staining and enhance the longevity of your ombre design by applying a thin layer of base coat. Allow it to dry completely before moving on to the next step.

Choose two nail polish colors that complement each other for the perfect ombre blend. Whether you prefer a subtle transition or a bold contrast, the key is to pick colors that evoke the vibe you are going for. Place a small amount of each color on the aluminum foil for easy accessibility.

Cut a small piece of the makeup sponge – this will be your ombre tool. Take one of your chosen colors and apply a generous amount directly onto the sponge. Make sure to cover about half of the sponge’s surface. Repeat the process with the second color on the remaining half of the sponge.

Now comes the fun part! Press the sponge onto your first nail, allowing the colors to transfer onto your nail surface. Use a dabbing motion to build up the ombre effect. Don’t worry about precision at this stage; you will refine the look in the next steps. Repeat this process on all your nails.
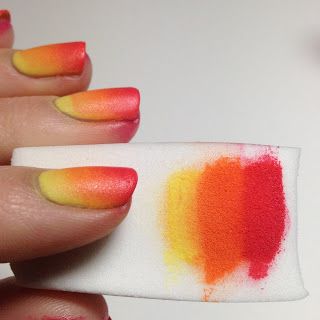
For a more intense ombre effect, repeat the process by applying another layer of polish to the sponge and dabbing it onto your nails. Layering adds depth and richness to the colors, giving your ombre nails a professional finish.
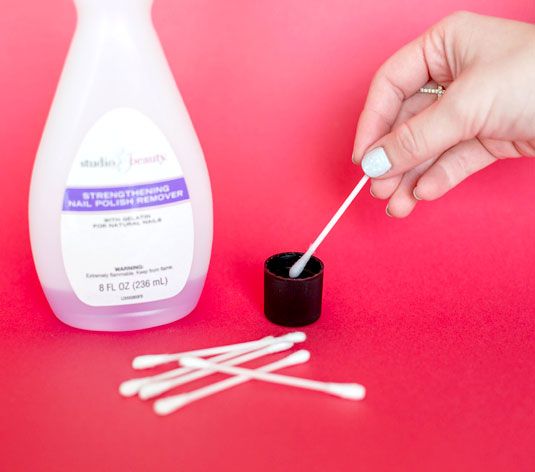
Dip a small brush or a cotton swab into nail polish remover to clean up any excess polish around your nails. This step will give your ombre nails a polished and clean appearance.
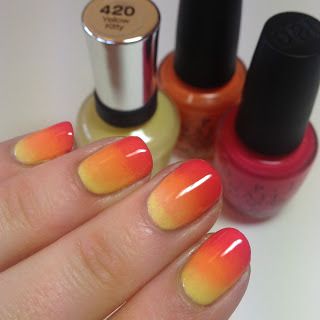
Once satisfied with the ombre gradient, let your nails dry completely before applying a top coat. The top coat enhances the shine and prolongs the life of your stunning ombre creation.
Related: Chic Ombre Nail Designs: 50 Dreamy Ideas!
Creating stunning ombre nails at home is a fun and achievable DIY task. With creativity, the right tools, and a touch of patience, you can rock this trendy nail art technique.


